Monthly Archives: July 2013

More on a Punched Scroll-board

IMG_1113I’ve been leery of the Egerton tall clock punched scroll-board veneer from the git-go. Until this weekend my concerns were in how to attach the  veneer – backed by what appears to be speaker cloth – over the scroll-board. If I glue the speaker cloth over the holes drilled into the scroll – holes that are to allow more bell sound to emit as the movement strikes on the hour – I’m sure to get glue on the cloth. That’s not going to work. Also, as I then glue the veneered face to the assembly, once again glue seeps into the cloth and the mess continues.

This weekend I found a new concern. How would I finish the clock if I worked out all the attachment issues? There will be no dye or stain, but I will add a layer of boiled linseed oil to highlight the grain in my mahogany. IMG_1109And with shellac as my topcoat, how the hell would I brush, wipe or spray shellac without filling the open weave of the speaker cloth? I’m at a loss and turning to plan B. Or is that E? Not sure.

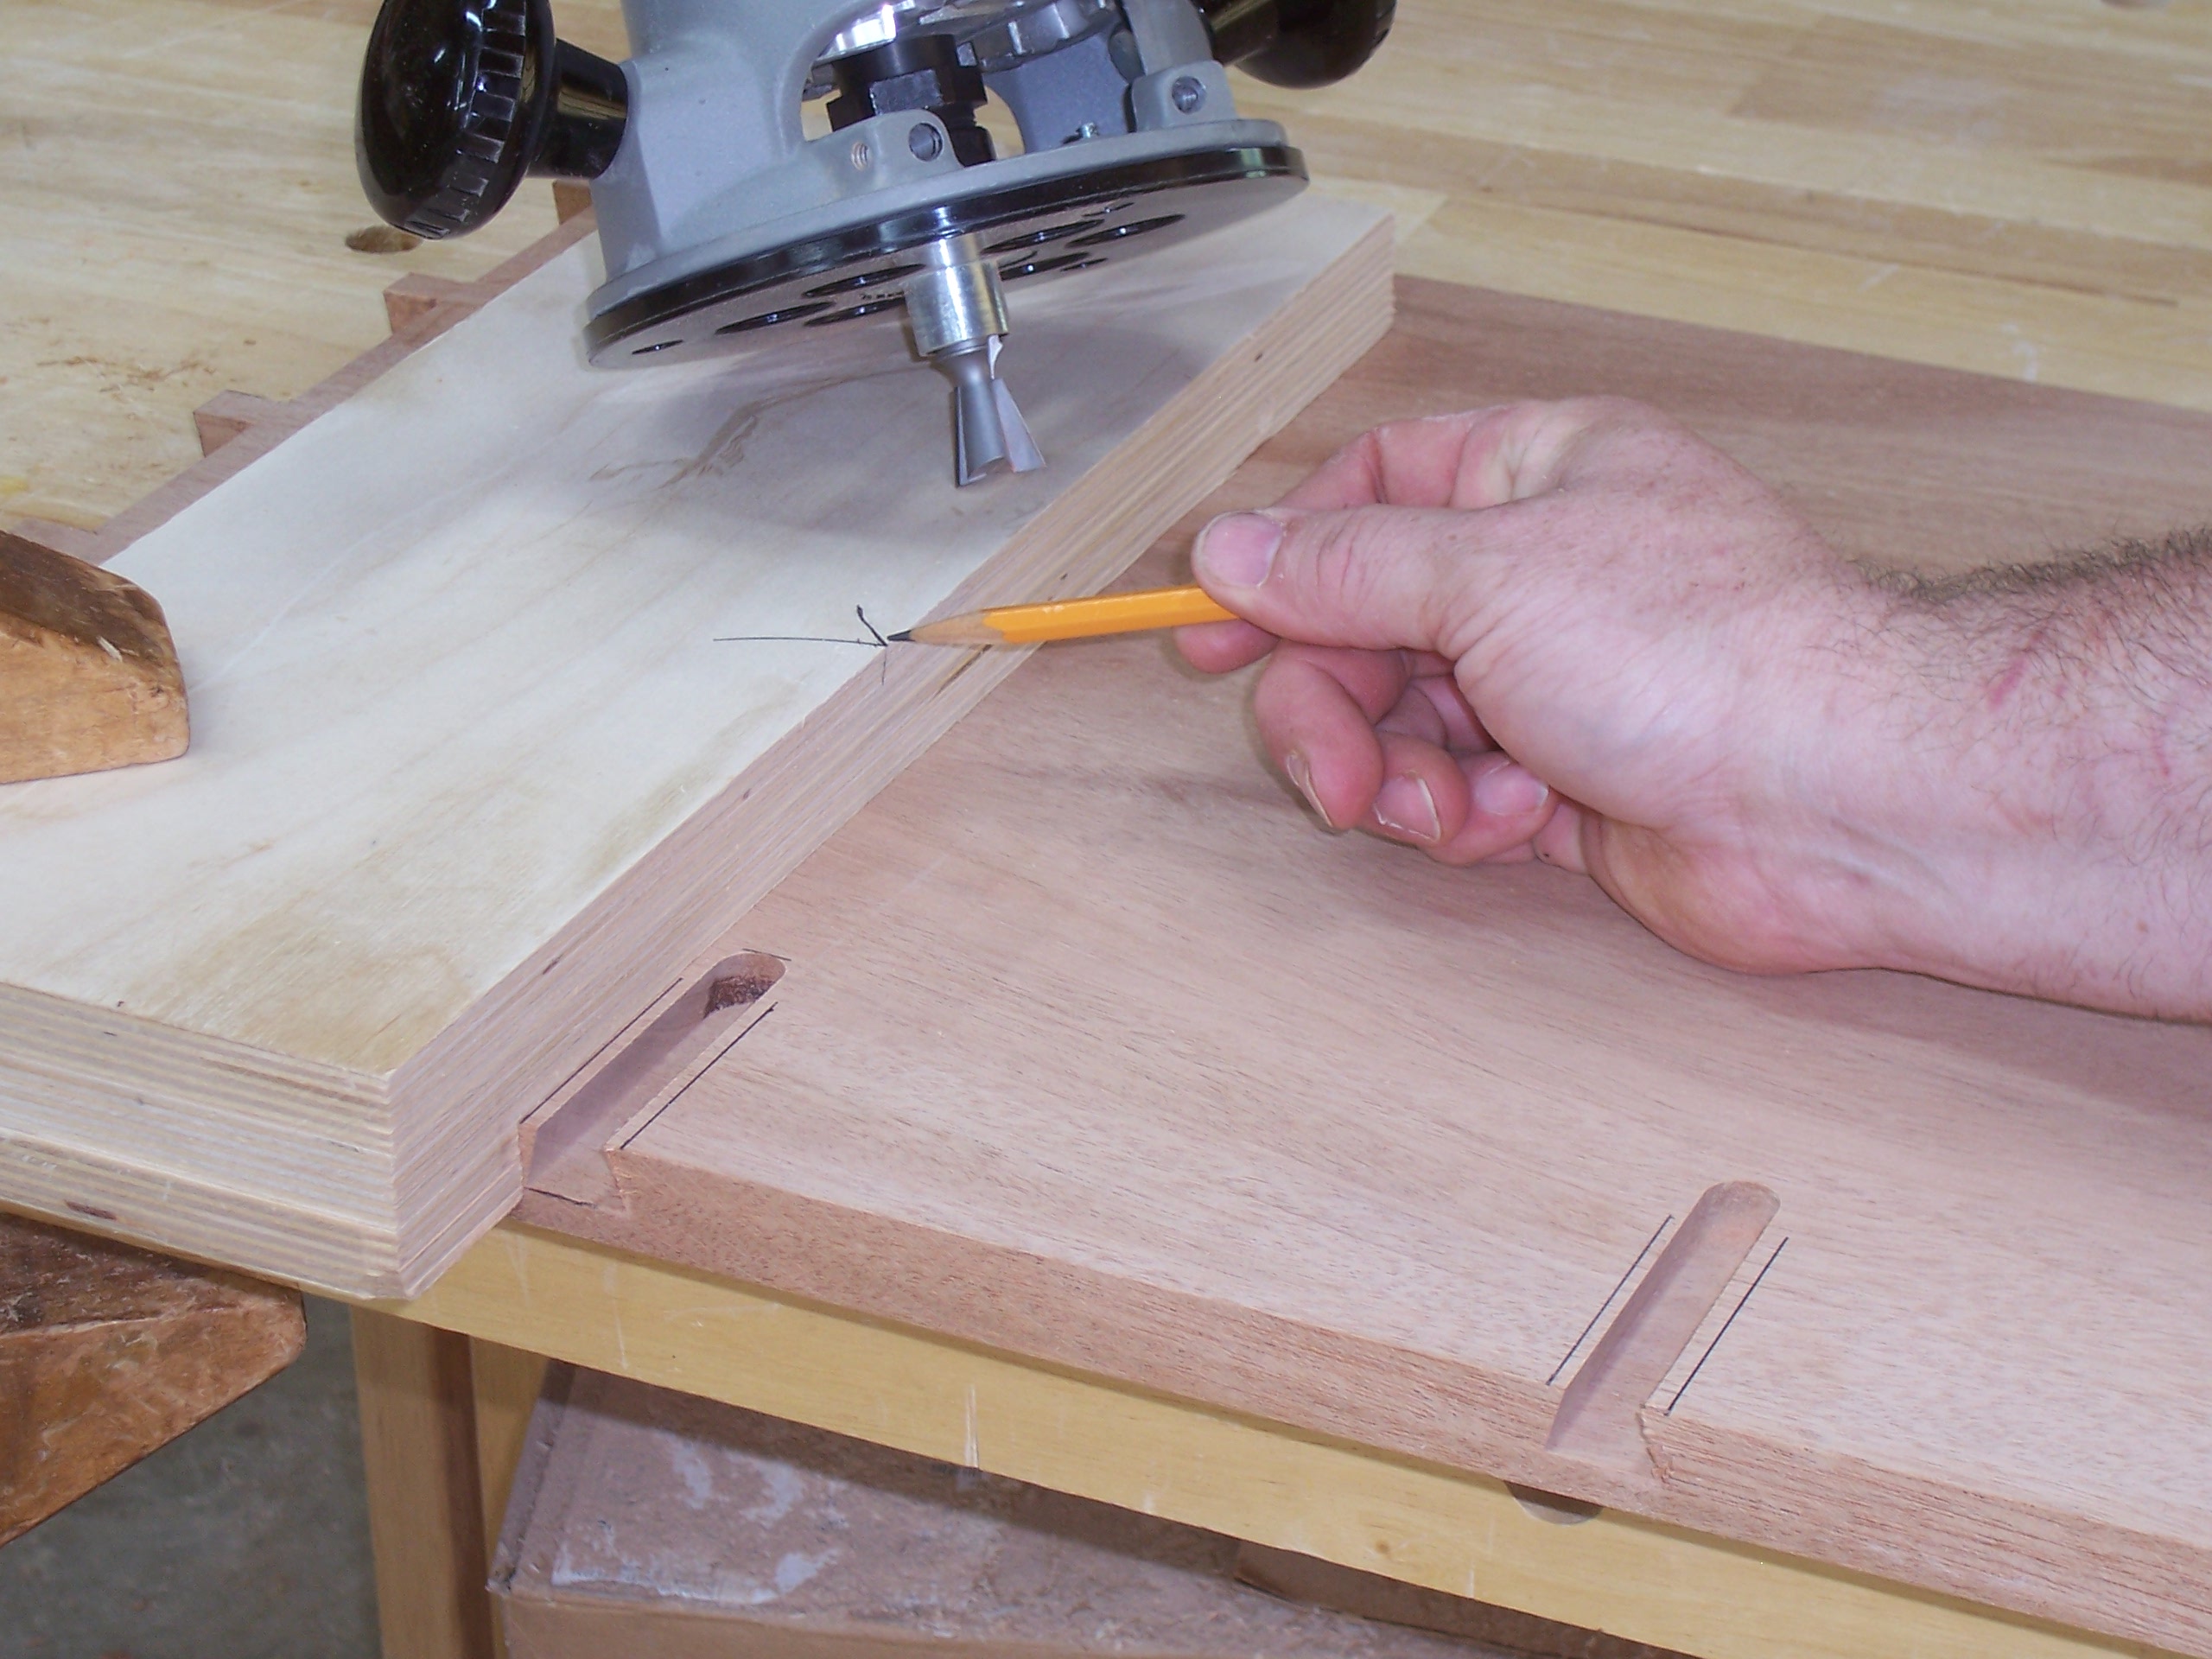
The next plan was to attach my punched veneer directly over the scroll-board without using a cloth between. To glue the face veneer to the scroll would be easy, but the holes would be a problem. Some of the holes do not go all the way through the scroll and the look in a mocked-up sample was less than stellar. I used a brad-point bit to cut my holes. The center point of the bit left a nasty look in any holes not drilled completely through. IMG_1108Maybe a spoon bit and a brace? Too much work. A round-nose router bit plunged into the scroll? Too much rigging, With another quick look at that arrangement, I knew it was out. Next idea, please.

My mind scrambled for an answer. How about black veneer behind the punched-out face veneer? Finishing would be OK. Oil and shellac would work fine on top of the veneer. The look would be similar. Where was the problem? (There had to be one, right.) Sound. That’s it. The idea of the cloth and holes was to elevate the sound of the bell ring. No holes equals less sound. It’s OK to not have holes in the scroll-board. Most clocks don’t and the sound of the chime is still heard. I moved forward.

IMG_1110Black-dyed veneer was cut and fit to the punched face veneer. A thin layer of glue was spread and the two veneers were sandwiched between wax paper and two make-shift platens. Clamps held everything flat as I waited to see my results.

As the glue dried and I worked on other areas of the clocks, Dave Griessmann, a friend who spends time in my shop on Saturdays – he also forces me to have doughnuts in the morning and lunch at BW3 – suggested that I still place a few holes through the scroll-board to help with the sound. Good idea. I think sound would increase if it only had to pierce two thin layers of veneer. A few well-placed holes are being considered, but that decision can wait until later.

Being the visual woodworker that I am, I thumb-tacked the veneer sandwiches to the hood and stood back to take a look. That’s what you see in the opening photo (click on it to make it larger). The contrast is more now than it will be when the mahogany is colored and finished. I like it, but I need some time to decide. You have any ideas?

Build Something Great!

Glen

5 Comments

Filed under Tall Clock, Veneer

More on the Pierced Veneer

After fooling around with shop-made veneer for the pierced hood on the Egerton clock and not being satisfied, I decided to purchase a wood-backed veneer. IMG_1099I went to joewoodworker.com and bought a 4′ x 8′ sheet of ribbon-stripe mahogany. I opted for the backer veneer to run across the grain for added stability – I am punching through most of the veneered front. I placed my order on July 15th. Friday the 19th my veneer arrived. (Joe has great service. I was notified at every step.)

In the shop I cut off a 24″ section from the sheet. The opening photo shows how I went about establishing the angle of the grain, and it shows that I made a mistake as I rushed to get started – I laid out four sections (two pieces for each clock) angled the same direction.IMG_1100 I needed two sets with the grain at opposing angles.

What I am particularly fond of is how easy it is to work with backed veneer. I cut the pieces to size using a pair of scissors. How easy is that? To get setup to do the punch work, I cut a piece of plywood a bit over-sized to act as a backer, then tacked and clamped my patten (slightly adjusted to show areas covered by moldings in the finished piece) to the plywood. I clamped one end so I could easily check my progress as I completed some of the work.

I began by using an 1/8″-wide chisel to cut at each of the four corners of the small patterns in my design. IMG_1102Work was just as with a machine in that I grabbed the chisel, oriented it for one corner then cut that corner in every contorted square. In the left-hand photo you can see the completed run of the first stage of work. I have to say that my hand was cramping as I worked the corners while holding the chisel between my thumb and index finger. I used a light mallet tap to punch the corners.

As I began step two using the small gouge, I decided that my mallet was unnecessary. Mere pressure could cut the veneer. I worked the small squares one at a time, removing the waste as I worked. IMG_1103A couple times the waste would slide under the veneer before I could grab it, so I had to remove the clamp in order to clear the way for the next square. And I could check my progress.

After nearly four hours I finished with the first half of one pierced piece of veneer. When I held it up to the hood, it looked good. What wasn’t good was the temperature. My shop has no air-conditioning, so I loaded up the necessary tools and veneer and took off for home. I could punch the remaining pieces at my kitchen counter.

Next week I’ll give you a look at the two finished pieces. Not bad so far.

Build Something Great!

Glen

1 Comment

Filed under Hand Tools, Tall Clock, Veneer

To Copy, or Not to Copy

As woodworkers, we are always on the lookout for interesting pieces to build. SAMSUNG There is, however, a need to be mindful of what you study, and what you copy. Are we doing right to copy poor designs? Shouldn’t we know enough about an item to know what is correct and what’s not before we pull the trigger and copy that piece.

Here’s a quick example. Check out the photo of the shutters. These are fiberglass shutters, so you know that this design had to have been studied extensively. I would bet that prototypes were made – perhaps many of them – prior to a final design being selected. The shutter looks good against the brick facing. The contrast of black against the white windows is dramatic, for sure. So what’s the problem?

If you get close-up to these shutters, you see where the design falls apart. The first thing you should notice is the grain direction. SAMSUNGThe field of the raised-panel design has the grain running vertically, from top to bottom. But the beveled portion shows something strange. The grain around the panels runs perpendicular to the field. I have yet to find boards in which the top 1/8″ has grain running one way and the remaining thickness is rotated 90 degrees. It could have been a veneered panel, but a shutter meant for outdoor application would not have been veneered. If this were my company, I would be kicking someone’s butt. (If you really want to kick this company, how about the bead? The bead should be mitered at the rail/stile intersection.)

How and when do we make this call when building furniture? Obvious problems should be easily addressed, but what about small problems? C447One of my early pieces was a corner cupboard that I copied from a friend’s collection. If I remember correctly, the cupboard had an Ohio origin and was in paint – the fact that it was painted may have played a part in the problem. The upper door had a two-panel design. The larger panel on the bottom of the top door was oriented as we believe correct today – the grain ran from top to bottom forcing movement from side to side. The top panel, however, was rotated 90 degrees to force the movement top to bottom. (I can only guess that paint hid this reversal for many years.)

When I copied the cupboard, I positioned the panel with its grain oriented vertically as it was in the other panels. Was I correct in doing so? It’s obvious that there was little danger in exploding the door because the piece I copied was an early- to mid-1800 piece. It had survived. Should we try and copy pieces as they were built? Or should we “improve” on the design by employing what we know to be better building techniques today? What would you do?

Build Something Great!

Glen

5 Comments

Filed under Antique Pieces, Design

GDH at WIA

This week, I want to mention Woodworking in America (WIA). With my return as managing editor with Popular Woodworking Magazine (PWM), you know that I’ll be and teach at WIA. If you are a woodworker in search of basic skills, you should plan to attend. If you are experienced at woodworking, but are looking to up your game, you should plan to attend. My bet is that if you look at the woodworkers PWM has presenting this year, you’ll want to be there, too. (Registration is open, so now is the time to make the call. Pull the trigger and click here to sign-up.)

This year my classes are all over the map. I open the conference teaching a seminar titled, “Better Woodworking Through Proper Wood Prep.” MIllingThe most basic observation I can give you is that if you begin a project with warped wood, you will fight it throughout the entire project. You need to make sure you know the basics, so of course we’ll cover the basics and you can bet there is way more. I’ve spent 20 years milling wood for projects. I’ve learned a crap-load of tricks and techniques to make the work easier and to mill lumber that is bent, twisted and just plain gnarly. In addition to the basics, I’ll share how to read your stock, what corner to press and when to straighten twisted stock, cup up or cup down and what to do if your board sticks at the jointer. This one class can make your time in the shop better.

Another class I’m teaching is “Precision Joinery: In a Hurry.” In this area alone, you discover why you need to be a blended woodworker. 9The class description from WIA says it best, “No single hand tool, power tool or machine is best to produce all the requisite joints. To make parts as quickly and accurately as possible, you need to know what tool to use when.” I’ve got jigs that make my life in the shop easy and highly productive, but I also know when to turn to my hand tools. During the class we’ll look at a number of furniture joints and I’ll share my best techniques.

On Sunday at WIA, I have a three hour class on inlay based around Federal-style inlay. Be sure to attend “Understanding Inlay: A Key Piece in Connoisseurship & Identification.” InlayIf you study inlay you’ll discover that each major city center had its own distinct inlay designs. One of the most famous (and often miscategorized) banding is the lunette inlay often associated with John and Thomas Seymour in Massachusetts. Every banding, inlay and patera is a clue to where the piece was built. Not only will we learn about different inlay and bandings, but I’ll demonstrate how many of these bandings are assembled. And before the class is over, you’ll be given the opportunity to make a sand-shaded fan that you can inlay into your project. So come ready to learn and ready to work, too.

Build Something Great!

Glen

Leave a comment

Filed under Inlay, Jigs, Joinery, Routers, Uncategorized