After the holidays, I was back in the shop working to reed the columns for the Egerton tall clock. You all know that I’m more power based when I woodwork, so I first turned to my router and router table to form the reeds. I had a small router bit with a needle point (similar to the one shown below at right). I built a small carrier for the columns, installed the bit in my router table, adjusted the fence to cut at the center of each column then raised the bit ever-so-slightly
  until the two radii were just formed. I thought the cut was a bit deep, but the bigger problem was how to rotate and align for the next cut. Because I was working on the bottom edge, it was impossible to align the bit point to any layout lines. Scrap that idea.
My second power-tool effort was at my lathe. I have a jig built (shown at the right) that suspends my  trim router at just the right height to allow a spinning bit to cut at the center on any turned stock. That jig setup, teamed with the indexing abilities of the lathe, suggested success. The bit I used, however, had a squared end (not a fine point) which resulted in a flat area between each reed that was unacceptable. And to use the bit consistently, I needed to run the bearings against the workpiece, and the cut was too deep, leaving the individual reeds too narrow and misshaped.
The only idea I had left was to scratch the design by hand. With eight columns to profile, that’s a lot of scratching. That’s why I looked to power tools from the outset.
 The first step was to produce the scratch profile onto a blade, which in my case was an old, previously used scraper. I found this work best completed using files. There are times when you can drill out a pattern, then touch it up. But for this design, I went straight to a file. Using a square file, I cut notches into the blade to resemble a “w.” I found it easier to accurately form the notches using a square file than it was to use a round file to get straight to the radius design. As you work you make corrections to get the design just right.
With the notches cut and located, I switched to a round file  (mine was a chainsaw file picked up at my hardware store). Fit into the notches, it was too simple to cut the design to round. Work one side, then move to the second. As this is done, make sure that the two rounded profiles stay tight to the center, and keep the point as small and sharp as possible – you don’t need a deep recess between each reed. One last adjustment to the profile is needed – remove the outside shoulders so the only bit being scratched is the recess and half of each radius design. (You can see the final design in the photo below.)
 When I completed the design, I loaded the blade into a simple stock. I used two pieces of scrap through which I installed a couple of bolts and wing nuts. Slip the blade into position then tighten the wing nuts until the blade is secured. The carrier I built when attempting the router cut is what I used to hold the columns for scratching. To center the assembled scratch stock to the carrier, I added a couple of small blocks to the setup – #23-gauge pins did the job.
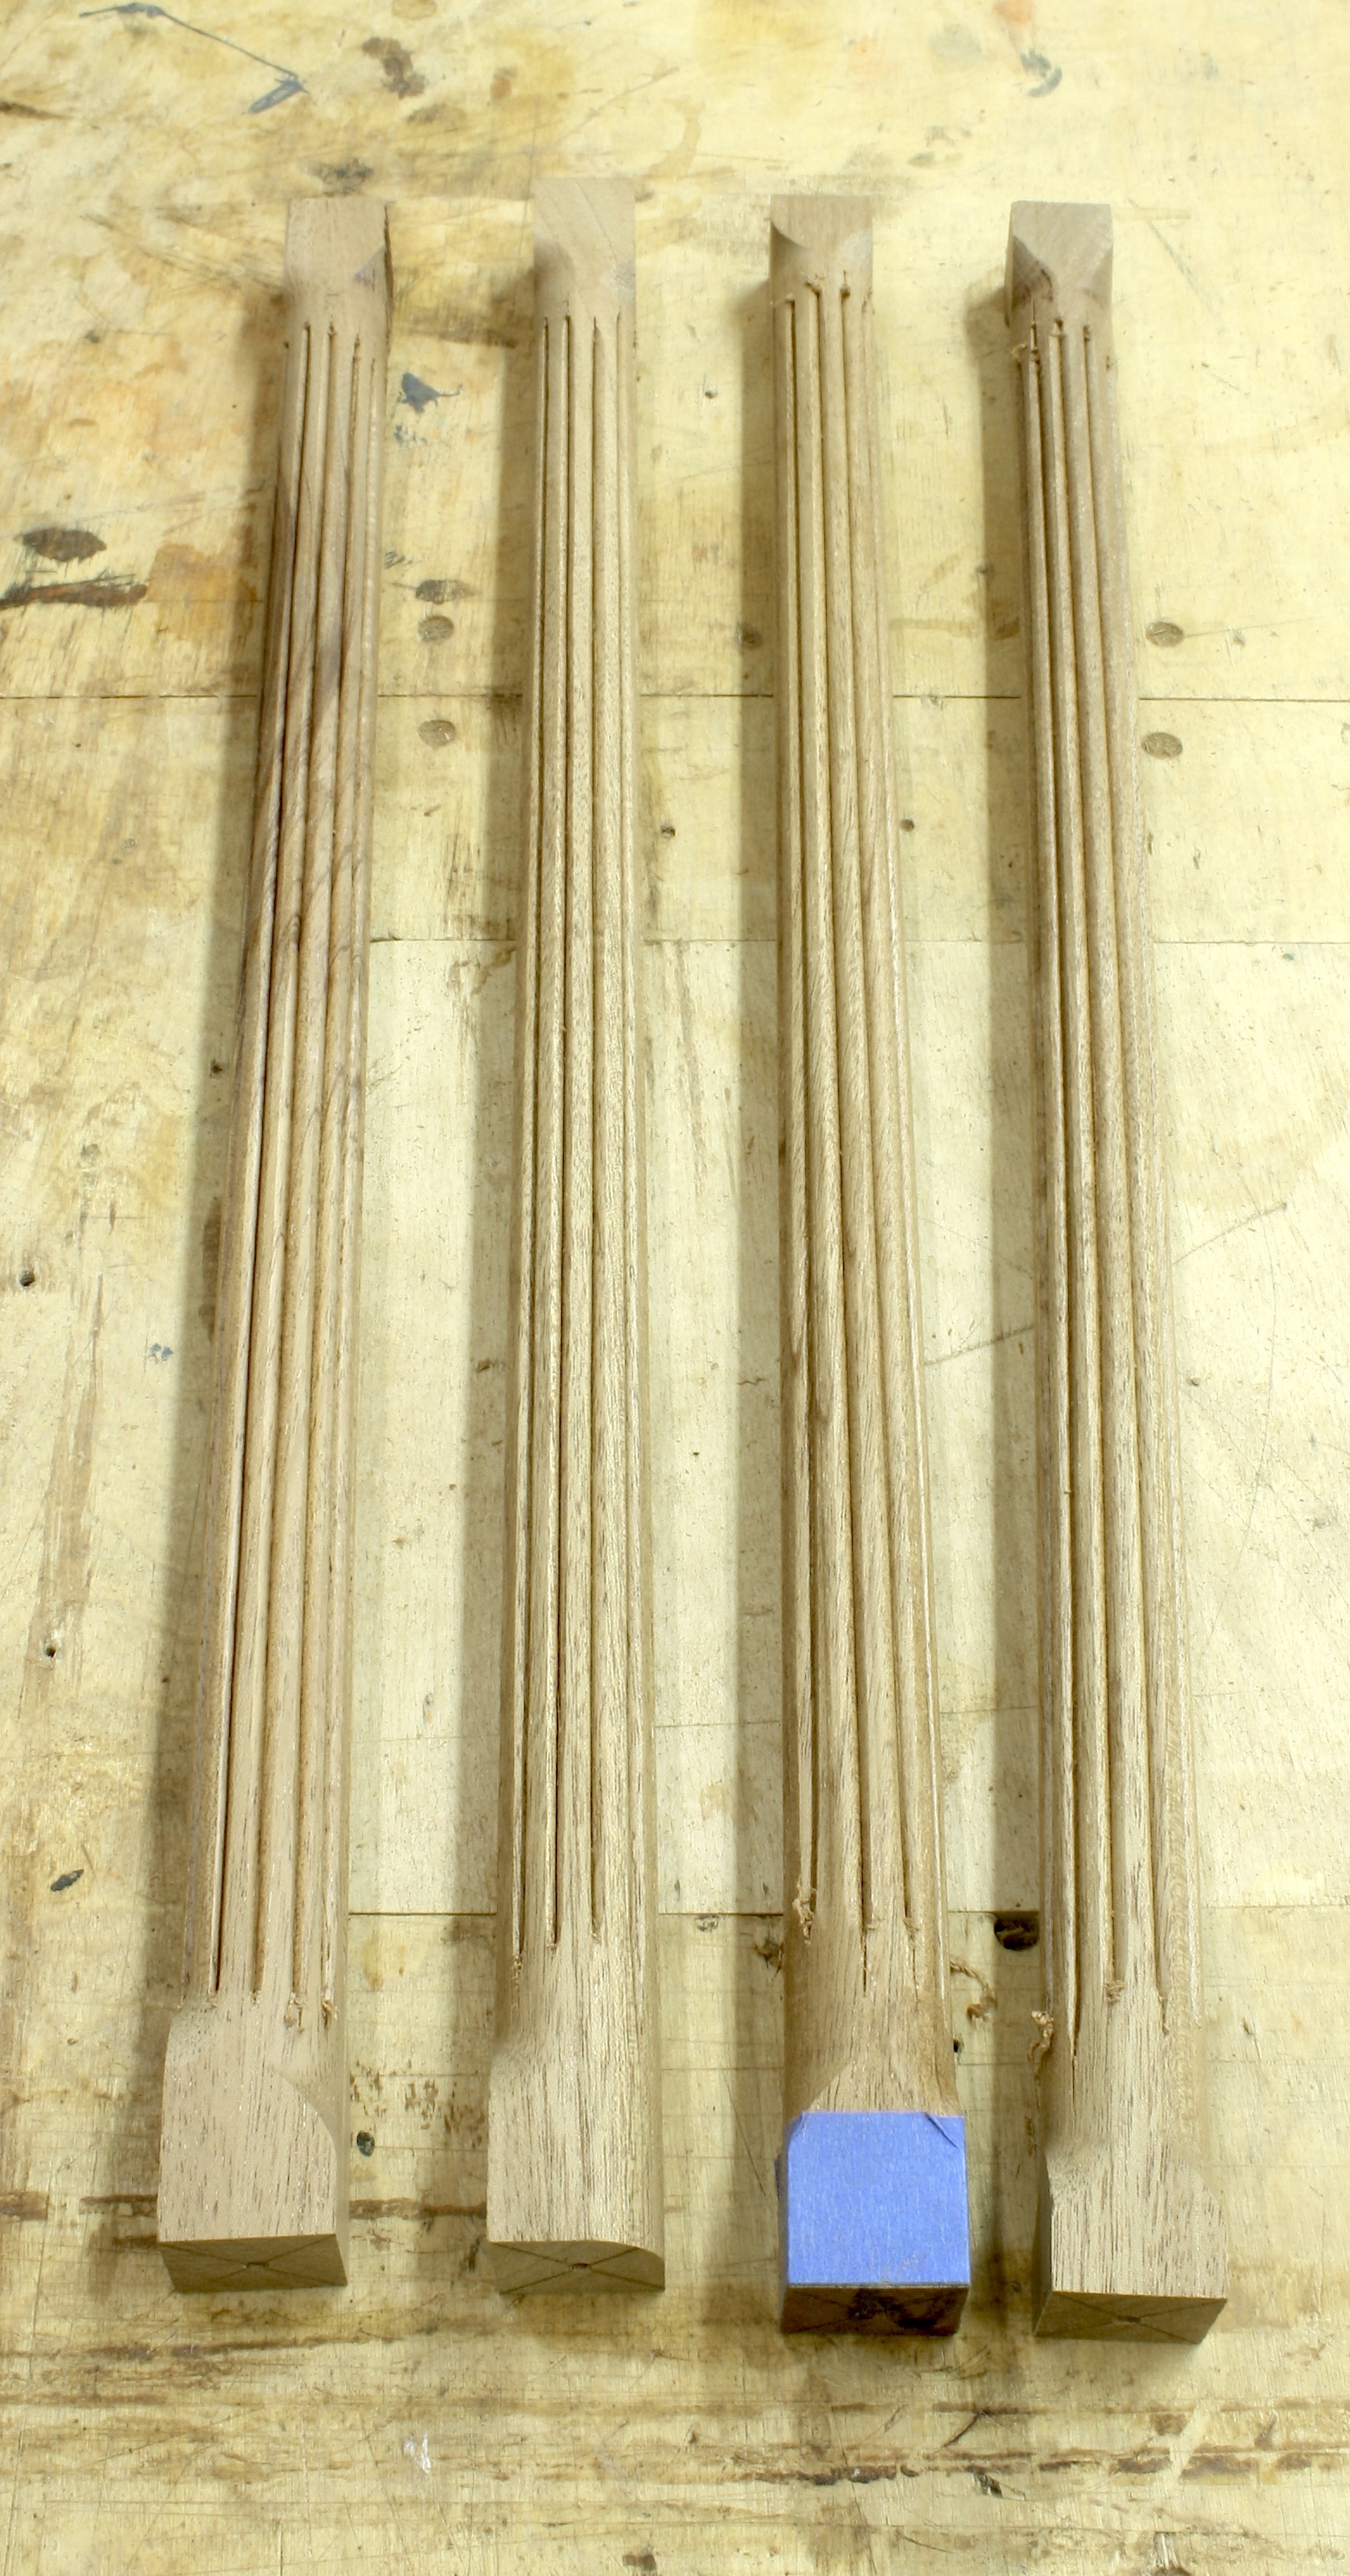
In the opening photo you can see how the jig is used. The blocks keep the scratch stock in line as the assembly is pulled and pushed back and forth until the design is formed. The blade hangs down far enough so the final depth is reached as the stock sits flat to the carrier frame. When one line is done, rotate the column and scratch a second. You can repeat this all the way around each column, but as Mike Siemsen of Green Lake Clock Company pointed out to me a while back, many of the columns found on antique clocks were not completely reeded. Because you cannot get your head between the hood and column, you cannot see those reeds. As a result, there are no reeds there. (In the past, if it was not seen, minimal time was spent making things look great.)
I have three columns ready to go, so I’m back in the shop scratch the remaining eight. Then I have to cut and fit each column to the capitals and hood. I’ll be busy for a while.
Build Something Great!
Glen

 I’ve reached the ends of the reeded columns for my tall clock. Literally. The last step is to round the ends of each reed. I thought I might be able to speed this process along using a lathe to round the ends in one fell swoop, then just touch them with my carving gouge. That, however, was a waste of time – and one good column. Spinning the column at the lathe again meant that I needed to locate the centers, load the workpiece accurately and have it spin dead-on. Looking back, I should have known it wasn’t going to work. But sometimes I’m pig-headed and have to prove myself wrong before I turn to other methods. Boy was I proved wrong.