Category Archives: Hardware

Hood-door Hinges

IMG_1746When you think about hinges for furniture, you probably think about regular hinges with two leaves that are screwed to a door and to the case or face frame. That’s not the case with many hood doors on tall case clocks. The opening photo shows two pairs of hood-door hinges. No knuckles. Just a flat piece of brass cutout in a funny shape. These hinges are different.

HortonI picked up my hinges from Londonderry Brass ($15.50 each). These hinges have a nice antique look about them, but there are a few problems with which to deal. Horton Brasses’ hood-door hinges ($10.00 each) are less antique looking, but do away with some of the problems. (My third primary hardware supplier, Whitechapel LTD., didn’t have the hinges or I was unable to track them down on the web site.)

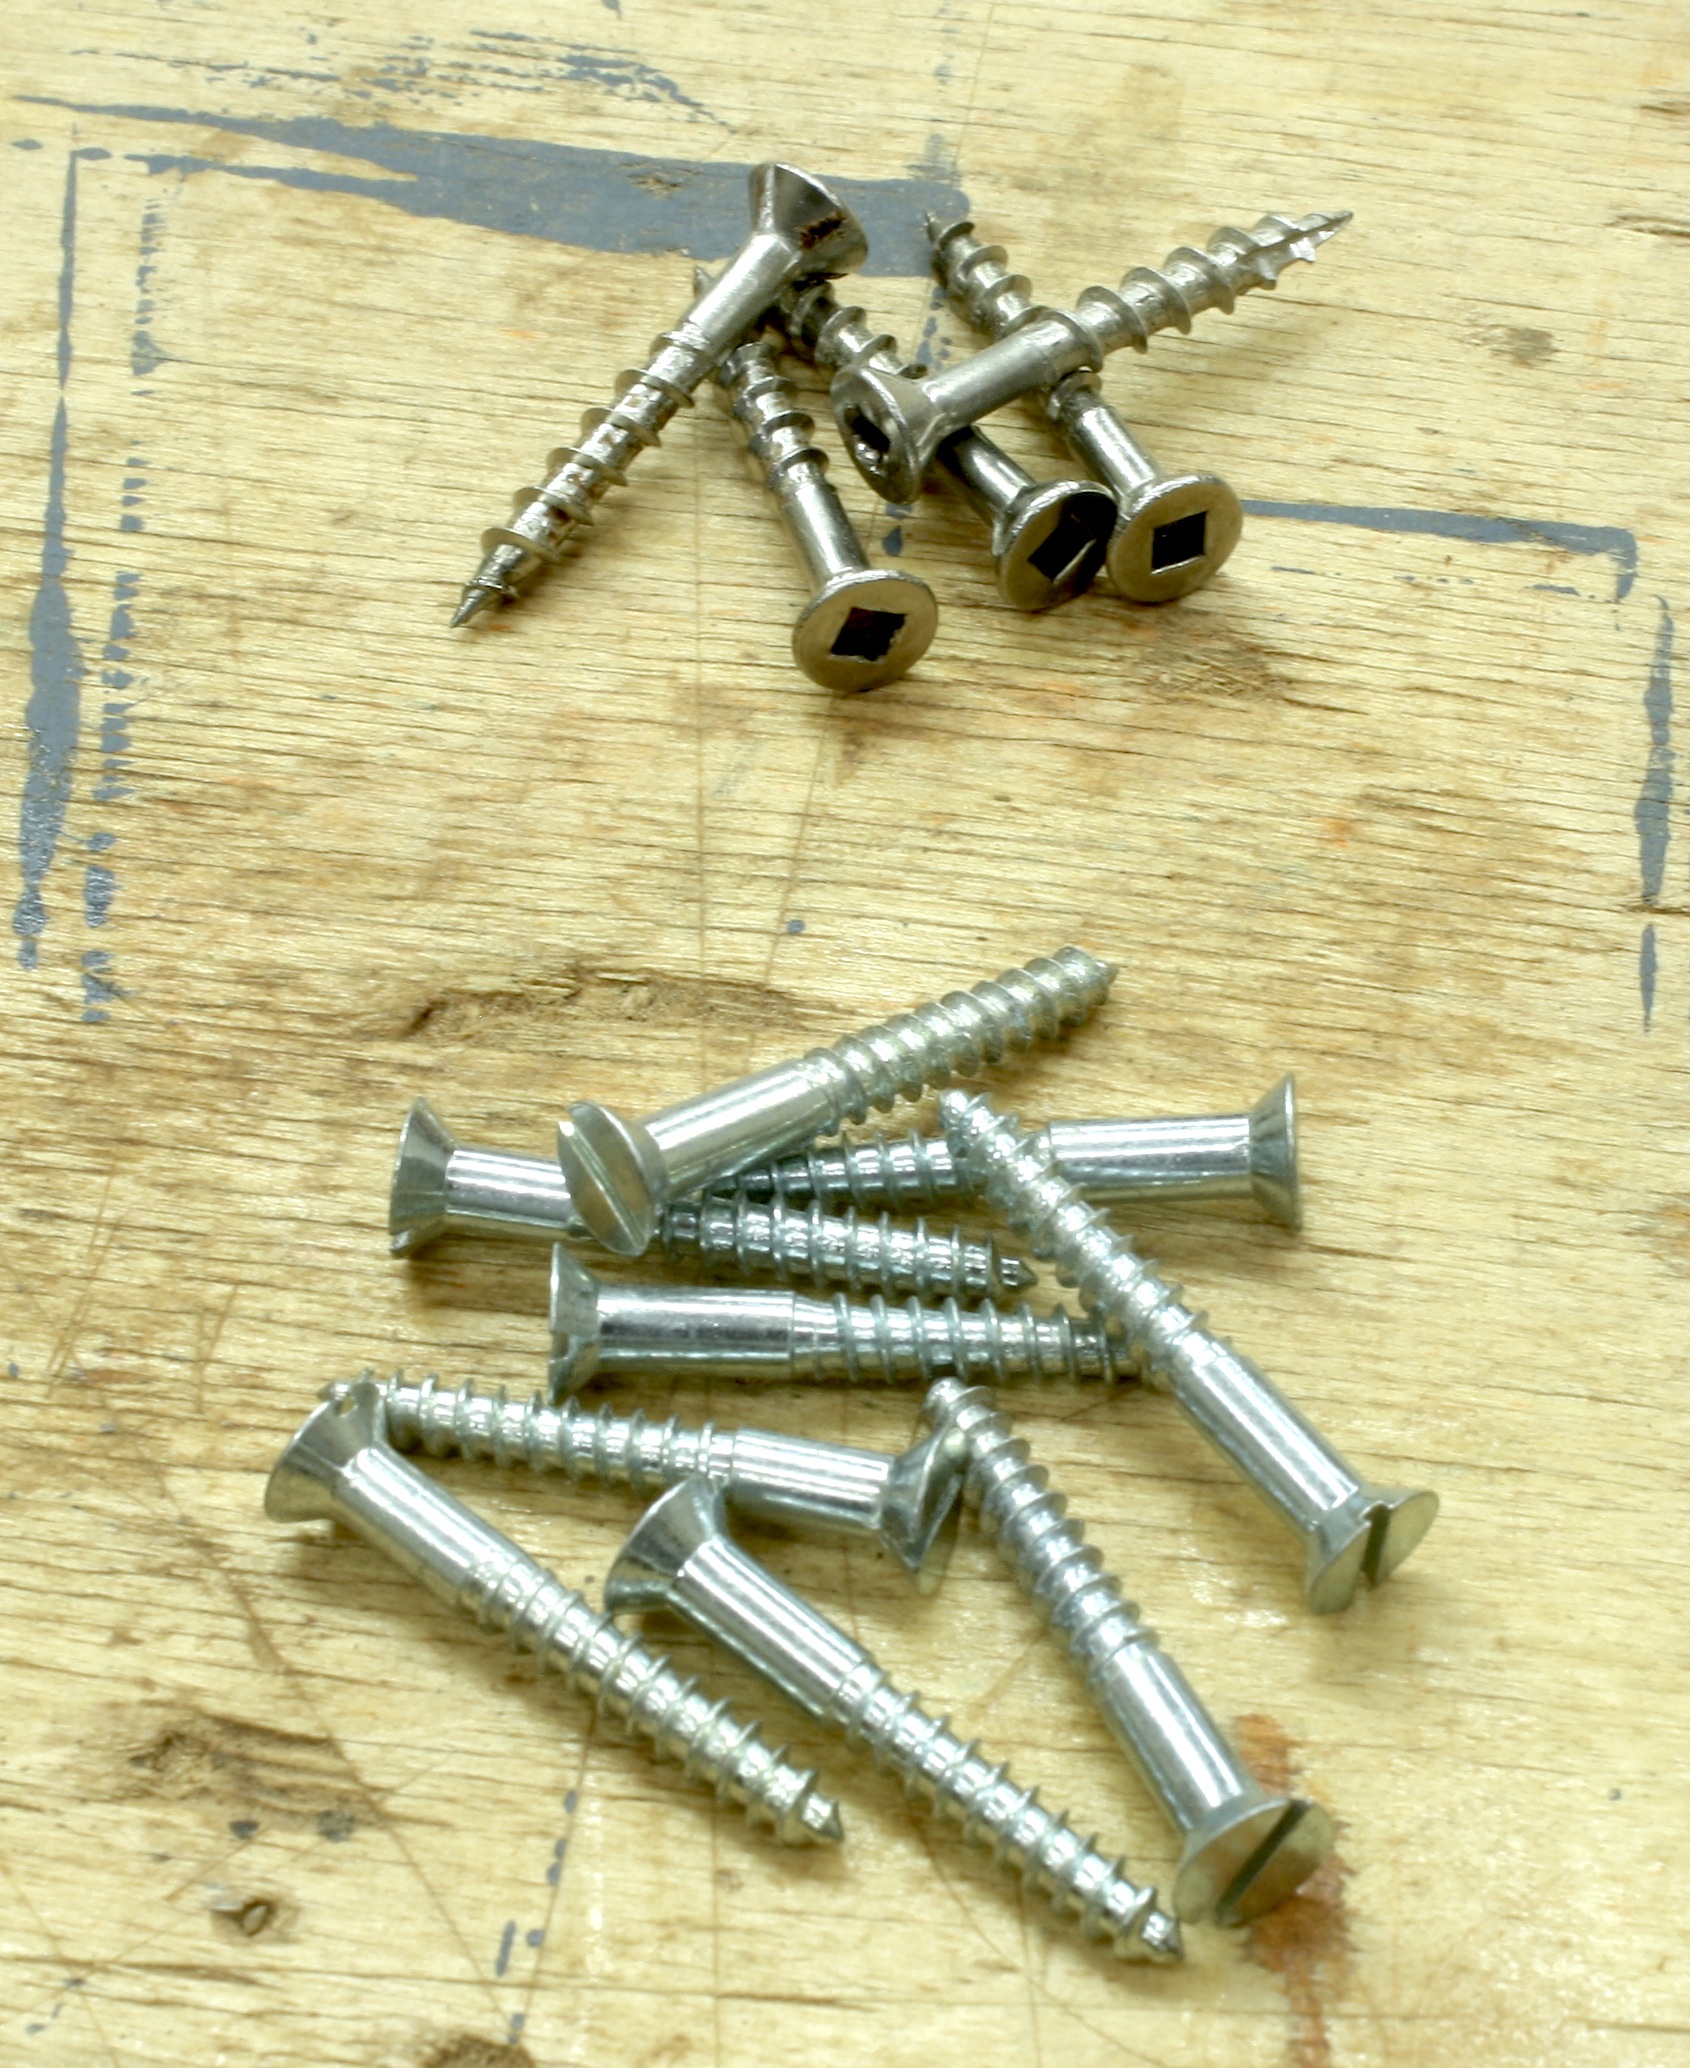
If you look at the photo above, you get an idea as to what the problem is with the hinges. The company sends out hinges that are all the same. Unfortunately, you need matched pairs. Also, the holes in the hinges are too small for appropriate screws. The first order of business for me was to align the hinge plates into pairs, enlarge the holes and make countersinks for the heads. (I marked the face that needed the countersinks.) The work is easy because the brass is soft, but due to the odd hole locations presented with the antique look, the enlarged holes get dangerously close to the outer edges of the hinge. If I could get these hinges without holes and countersinks, I think I’d be better off. In fact, if I had the time (and inclination to do so), I may try cutting my own from a piece of sheet brass.

IMG_1757How these hinges fit is also different. The work to set the hinge is all in end grain – the top and bottom end of the hood-door stile. As you locate the hinge, you need to watch the edge of the door stile. A strong rap with your mallet and the chisel can easily break the grain along the edge of the door. That’s not good or fun, so work with a knife or cutting gauge and leave the whacks for dovetails. And you better sharpen your chisels before you begin. Of course, you know what it’s like to pare across end-grain.

IMG_1761After you get the hinges set into the door stile – one at the top and a second at the bottom – the screws are installed. Because I’m merely fitting these at this time (I have more finish work to do), I installed only two screws per hinge. A bird-cage awl is the perfect tool to start these screws. Here you can see where having the holes too close to the edge of the hinge can be problematic. In early builds, I’ve split the stile as I’ve driven home the screws. Make sure you properly drill the holes, especially at the outer edge.

IMG_1762With the hinges installed, how things work is rather simple. The part of the hinge that extends out from the door is secured to the hood with a screw through the hole. Originally, that was probably done with pins, but I think a screw is a better choice in case you need to pull the door for any reason, such as to replace the glass. This method also allows you to align the door in the opening. Set the door at the bottom then as you install the top screw you can make slight adjustments to get the reveal just right.

And here’s a tip when working with hardware that shows more handwork. Mark the individual hinges so you can get them back in the same place. I learned this lesson the hard way when I built my first step-back cupboard using rat-tail hinges. As I we back to re-install the hardware, I spent too many extra hours trying to fit the parts into the proper position – all leaves are not the same, and the screw holes are not matched. Sharpie to the rescue.

Build Something Great!
Glen

IMG_1763

Leave a comment

Filed under Hardware, Shop Tips, Tall Clock

Shop Fasteners

IMG_1468I consider myself a furniture maker; to me, that’s a sub-group of woodworkers. A furniture maker is more narrowly focused on building furniture. As a result, I have a narrow view on fasteners.

In my shop, I do not have the need for a drawer full of various-sized screws and nails. Throughout my shop life, I’ve found that I use one size slot-head screw for most every furniture-building need. That size is a #8 x 1-1/4″ flat-head wood screw.  That length allows me to join, even if I countersink the screw, two pieces of 3/4″ thick material – the thickness most commonly associated with furniture – without the worry of the the pointed end of the screw making an appearance on the show side of my project. (My hardware, whether brasses from a specialty hardware supplier or low-end hinges from my local hardware store, comes with the screws needed to use the pieces purchased. I do replace Phillips-head screws with slot-head screws)

I buy these screws by the gross. When I use them, for the most part, I strip off the zinc plating using gun bluing purchased from a sporting goods store – at least that’s where I easily find the solution.

IMG_1469Other screws I buy are square-drive, self-tapping screws used for jigs and other shop stuff, and I sometimes purchase other sizes of wood screws if I find the need. But that’s not often.

I have a similar philosophy when it comes to nails. I keep 1-1/4″ and 1-1/2″ fine finish (reproduction) nails on hand. And I have 1-1/4″ shingle nails (the headed ones in the above photo). The finish nails are used on show faces of nailed-together furniture, and the shingle nails are used mainly for backboards, and for interior work where the nails seldom show.

I’ve had a box of headless brads gathering dust in the shop for nearly 20 years. I discovered that these nails were a pain to install and set, IMG_1471but more importantly, I discovered that the small rectangular depression left by the #18-gauge nails driven by my air-powered nail guns look almost identical to hand-driven brads.  The only difference is that on occasion, hand-driven brads need to be pulled, and that messes up the surface. And before you write that air-driven brads can shoot out the sides of your projects, remember that you need to accurately size the brads for the task, and pay attention to grain direction. I have a couple of lengths of #18-gauge brads – 1″ and 1-1/4″.

I also use a #23-gauge fastener. These fasteners disappear, and are perfect on small moldings.

You can call me nail and screw deficient, but I’ve made it 22 years and built a few more than 500 pieces of furniture using just the fasteners. I think that’s all I need.

Build Something Great!

Glen

4 Comments

Filed under Hardware, Methods of Work, Shop Tips

Broken Screws

IMG_1433A couple of weeks back, and a few times since, I’ve found myself talking or writing about brass screw installation and how to do it without problems, so I thought I’d post a few tips and tricks to refresh the idea if you’ve seen this in the past, or bring it to your attention if you have yet to read this anywhere. Brass screws are softer than steel screws (Duh!). But I’ve seen steel screws – especially screws sold at home centers – break many times, so keep that in mind, too.

The proper method to install brass screws is to drill and countersink your holes using the proper devices. I find that’s easy to follow if you’re driving 3/4″ or longer screws. Shorter screws, for me, present more of a problem, especially when driving screws for hinges. What I do is locate the center of my hole using an awl, such as a birdcage awl from Czeck Edge. Then I drive a steel screw of a matching size and with similar threads. I then pull the steel screw and turn in the brass screw.

ExtractorBut what do you do if your brass screw breaks as you tighten, or over tighten? Then you need a screw extractor as shown at the right. This is simply a tube that has saw-like teeth cut at the ends. You center the tool over your broken screw, and with the extractor chucked in your drill, spin the tool until it’s below the screw depth. When you break out the plug – this is basically using a plug cutter – the broken screw pops out. While this is actually a plug cutter, the biggest difference is that the extractor is correctly sized to an outside diameter which can easily be filled with a dowel, or other cut plugs.

There is something strange when using a screw extractor. The tool is meant to be spun in your drill while the drill is set in reverse. If after a few seconds your extractor is not going into the wood, change the spin direction.

Another interesting tidbit is that these extractors are difficult to hold in position as you begin the cut. If you have an area that you don’t want to hack up as the extractor wriggles around before it bits into the wood, there is a method of work that saves your surface. As I wrote above, screw extractors are sized to be easily replaced with dowels. To make that happen, they need to be sized to standard diameters, which means you can also drill a hole the exact diameter using a drill bit. If you drill a hole with a matching diameter through a scrap, then locate that hole perfectly over your broken screw, the hole guides the extractor. No marred surfaces.

Extractors_Common

The above photo was pulled from an issue of American Woodworker magazine. You should expect to hear about and read about many new things with American Woodworker in the coming months and years. Why? If you haven’t yet heard, F+W Media – owner of Popular Woodworking Magazine of which I am currently the managing editor  has purchased the company which owns and operates American Woodworker. You can read a press release here, if you’re so inclined to do so.

7 Comments

Filed under Hardware, Methods of Work, Shop Tips

Clock Movement Arrives

IMG_0813This past week, the movement for my Egerton Tall clock arrived from Green Lake Clock Company. Because many woodworkers do not often order clock movements, I thought it would be interesting to see photos of not only the movement and what comes in the package, but also get a look at the crate in which everything is packed.

First, the movement ordered for this clock has the dial that has a coating over the entire front and back of the dial. Generally, these dials come as bare metal, but this appears to be a base coat onto which the hand-painted surface can be added. A quick call to the company confirms that the coating is what is used if you purchase a painted and silk-screened dial. (Green Lakes ran out of bare dials, so a few orders were shipped with the primed surface.)

IMG_0814The movement itself – shown in the photo to the right – is a Kieninger Bell Strike movement which includes the top-mounted bell, cable pulleys and the gears and internal workings which are behind the back plate. The saw-like wheel that you see above the bell is the moon dial.

A moon dial rotates slowly as the clock moves throughout the day. Different scenes are painted on the moon dial to reflect the time of month. This, along with the main dial can be customized for a personal effect. A  clock that was built by the customer to which my tall clock goes, has an image of his house painted on the moon dial. Very cool.

IMG_0818Other parts of the movement – sent packed in three layers of Styrofoam – are the weights and pendulum bob which are cast iron, and a winder and a few miscellaneous parts. These are shown to the left. Also included with the package are clock hands.

Below are a couple more photos. The left-hand photo is a close-up view of the movement, and at the right is a close-up view of the rear of the moon dial. Overall, the entire package is ready to install into the clock. Now if I just had the clock ready for the movement.

IMG_0819     IMG_0816


And kudos to Green Lake for how the movement was packaged for shipment. Below you can see a corner of the crate. Notice the rabbeted sides that capture the top and bottom of the crate. And look at the dado for the mounting board. Nice, quality work. IMG_0820I am impressed. You can reach Green Lake Clock Company through the highlighted link above, you can call Mike Siemsen – company owner and instructor at the 2013 Woodworking in America conference (WIA), (read more about WIA here) – at 651-257-9166 or send snail mail to: 9912 Green Lake Trail, Chisago City, MN 55013. Oh, you can email him at mike@greenlakeclock.com.

Build Something Great!

Glen

1 Comment

Filed under Hardware, Tall Clock

Screw Stripping

IMG_0729When I teach seminars or do presentations, it’s a two-way street. While I’m the one standing in front of the room sharing my knowledge with attendees, I am also the one that picks up a new tip or technique from someone in attendance. That is one of the things about woodworking that I enjoy so much. Not any one woodworker knows it all. Every day there is something to learn.

These past couple weeks, at least around my woodworking world, there have been talks about how to remove plating from hardware. Since day one I’ve been turning store-bought hardware from shiny to dull black using gun bluing. My hardware store use to carry the product, but that is no longer the case. These days I travel to one of the bigger outfitter-type stores, trudge to the gun area and pick up four or five small bottles at a time. Those days my be over, too.

IMG_0742For the first time in nearly twenty years, I heard – it’s possible that I heard this before, but did not pay attention – that many woodworkers dull their hardware using regular household white vinegar. Yeah, right. I had to give it a try, so yesterday morning I pored vinegar over some of my plated screws. I established the time because I thought it might take days to get the plating off. A hour later, I had bare screws. See the results in the photo, just above.

I dumped the screws from the vinegar, patted them dry then laid them out on my bench. The plating was off, sure enough. But the look wasn’t exactly what I expected – where was that black appearance? Funny thing, though. As the screws sat exposed to the air, a small amount of rust appeared. That added to the look.

In the photo below I have two sets of stripped screws. The black screws, of course, are those that took a gun-bluing bath. On the right are screws stripped using vinegar. I am still torn between black and rusty. Which screws do you think better represent antique screws? Which are better to use when building reproduction furniture?

Build Something Great!
Glen

IMG_0753

If you’re interested in reproduction furniture, I have three project DVDs available (click here for information). All three use slot-head screws somewhere during the build.


6 Comments

Filed under Hardware, Shop Tips

Dead Cool(er)

This past week I have been in Connecticut teaching a class at the Connecticut Valley School of Woodworking (CVSW). If you are looking at a class or two to up your woodworking IQ, you owe it to yourself to check out Bob Van Dyke’s place.

CVSW is a huge, well-equiped woodworking shop. Bob runs the school, teaches and brings in instructors from across the country to enhance his already superior selection of classes. Visit the school’s web site to look at the class list and you’ll find everything from saw sharpening to building a Goddard Newport Tea Table. And the list of instructors is second to none with names such as Alf Sharp, Will Neptune and Steve Latta.

During the week, students constructed a hand dovetailed, hanging wall box complete with a raised panel door and a drawer. Each student finished the project completely, including backboards. They all did a great job. Nice work.

Bob Van Dyke explores the clock hood.

About mid week, Bob, Mickey Callahan and I squeezed in a visit to the Wadsworth Atheneum to measure a Burnap tall clock for an upcoming class taught by Chuck Bender (click here to see the class listing then scroll down). On a floor reserved for museum  personnel, full hands-on access to the clock was made available. As a woodworker,I felt like I had opened the door to antique furniture heaven as we explored and measured the clock and discussed period construction techniques.

Thursday, not to be out done by the Atheneum, Bob ran me down to the Connecticut Historical Society (CHS) to take a look at a current exhibit where pieces built by members of the Society of American Period Furniture Makers are on display next to many of the pieces from the CHS collection. The exhibit runs through September 8, 2012 and is well worth a visit – the craftsmanship is top notch and the exhibit is impressive.

Friday we returned to CHS for a second trip to heaven. Yes, we were again invited to step behind the curtain for a closer look at pieces of the CHS collection not on display. This is where the piece of furniture shown in the opening photo was found. (Finally, right?)

What you see in the opening photo is something I knew nothing about – didn’t even know it existed. The museum card called it a body preserver. I came to find out that this was used for wakes. The case separates about 10″ up from the bottom and a body is fit into the lower section. The round plate at one end is for viewing the face of the deceased.

With that plate opened, you can not only see how the face is viewed, but you can also see a metal liner. The liner protects the body from the huge amounts of ice that were used to keep the body cool while on display. Inside the face area, the museum stores the crank used to adjust the corpse. At the head end, you could crank the upper torso upward to better frame the face in the viewing window. At the foot end it was sometimes necessary to raise the knees to better fit a taller corpse in the body perserver.

In the last photo you can also see drain tubes that allowed water from melted ice to vacate the preserver. You should note the quality joinery, expensive brass hardware and elegant based. This was an expensive piece of furniture.

Build Something Great!

Glen

5 Comments

Filed under Antique Pieces, Hardware

Hardware Installation Basics

This week I wrapped up finish on my block-front chest then installed the hardware. While hardware installation on this chest is a bit different due to the rounded block-front design, once the location of the plate is decided all else is identical. For those of you who wonder how I go about this step, here it is.

Ordinarily, I would measure in from the drawer ends to locate my back-plate. That is a bit difficult when dealing with block-front drawer fronts. Because I wanted each plate centered in the rounded section and had to find that point, I cut a thin strip to the exact length of the curved portion then marked its center point. Lay the strip on the drawer front, position the lower point of the back-plate just at the center line of the strip then mark both hole locations. I strike a vertical line at the center of each hole.

This hardware also requires that the holes be centered from top to bottom. This is easy when using a double saddle square. With my square set, I struck a small line to form a cross-hair that indicates exactly where to drill. At my drill press, I installed a 1/16″ bit then drilled a pilot hole through the drawer front.

With the drawer set so I could operate on the interior and using the pilot hole as a guide, I drill a 5/8″ recess which is just large enough to allow socket access for tightening the nuts. This recess allows me to keep any posts and nuts flush on the inside of the drawer.  You do not want to catch your unmentionables on your hardware.

With the drawer flipped down so I can work on its front, I complete the hole using a bit that matches my post diameter. The pilot worked to keep the two drill operations aligned and straight.

On most of the drawers I work on, the posts need to be cut in length to remain in the recess cut in the back face of the drawer front. I figure the thread length needed, grab a piece of scrap that is the correct thickness then cut each post to size. The post ends are not conducive to easy nut installation straight from the saw, so I use a sander to round the ends as shown in the photo above – when you have fat fingers working in small recesses, you want every advantage you can get.

Although it is not easy to see the nuts in this photo, this is the look inside each drawer. Posts do not extend into the storage area. This presents a clean look inside the drawers. As for the outside, the photo below says it all.

Build Something Great!

Glen

3 Comments

Filed under Design, Hardware, Power Tools, Shop Tips