Monthly Archives: February 2013

Cove Molding

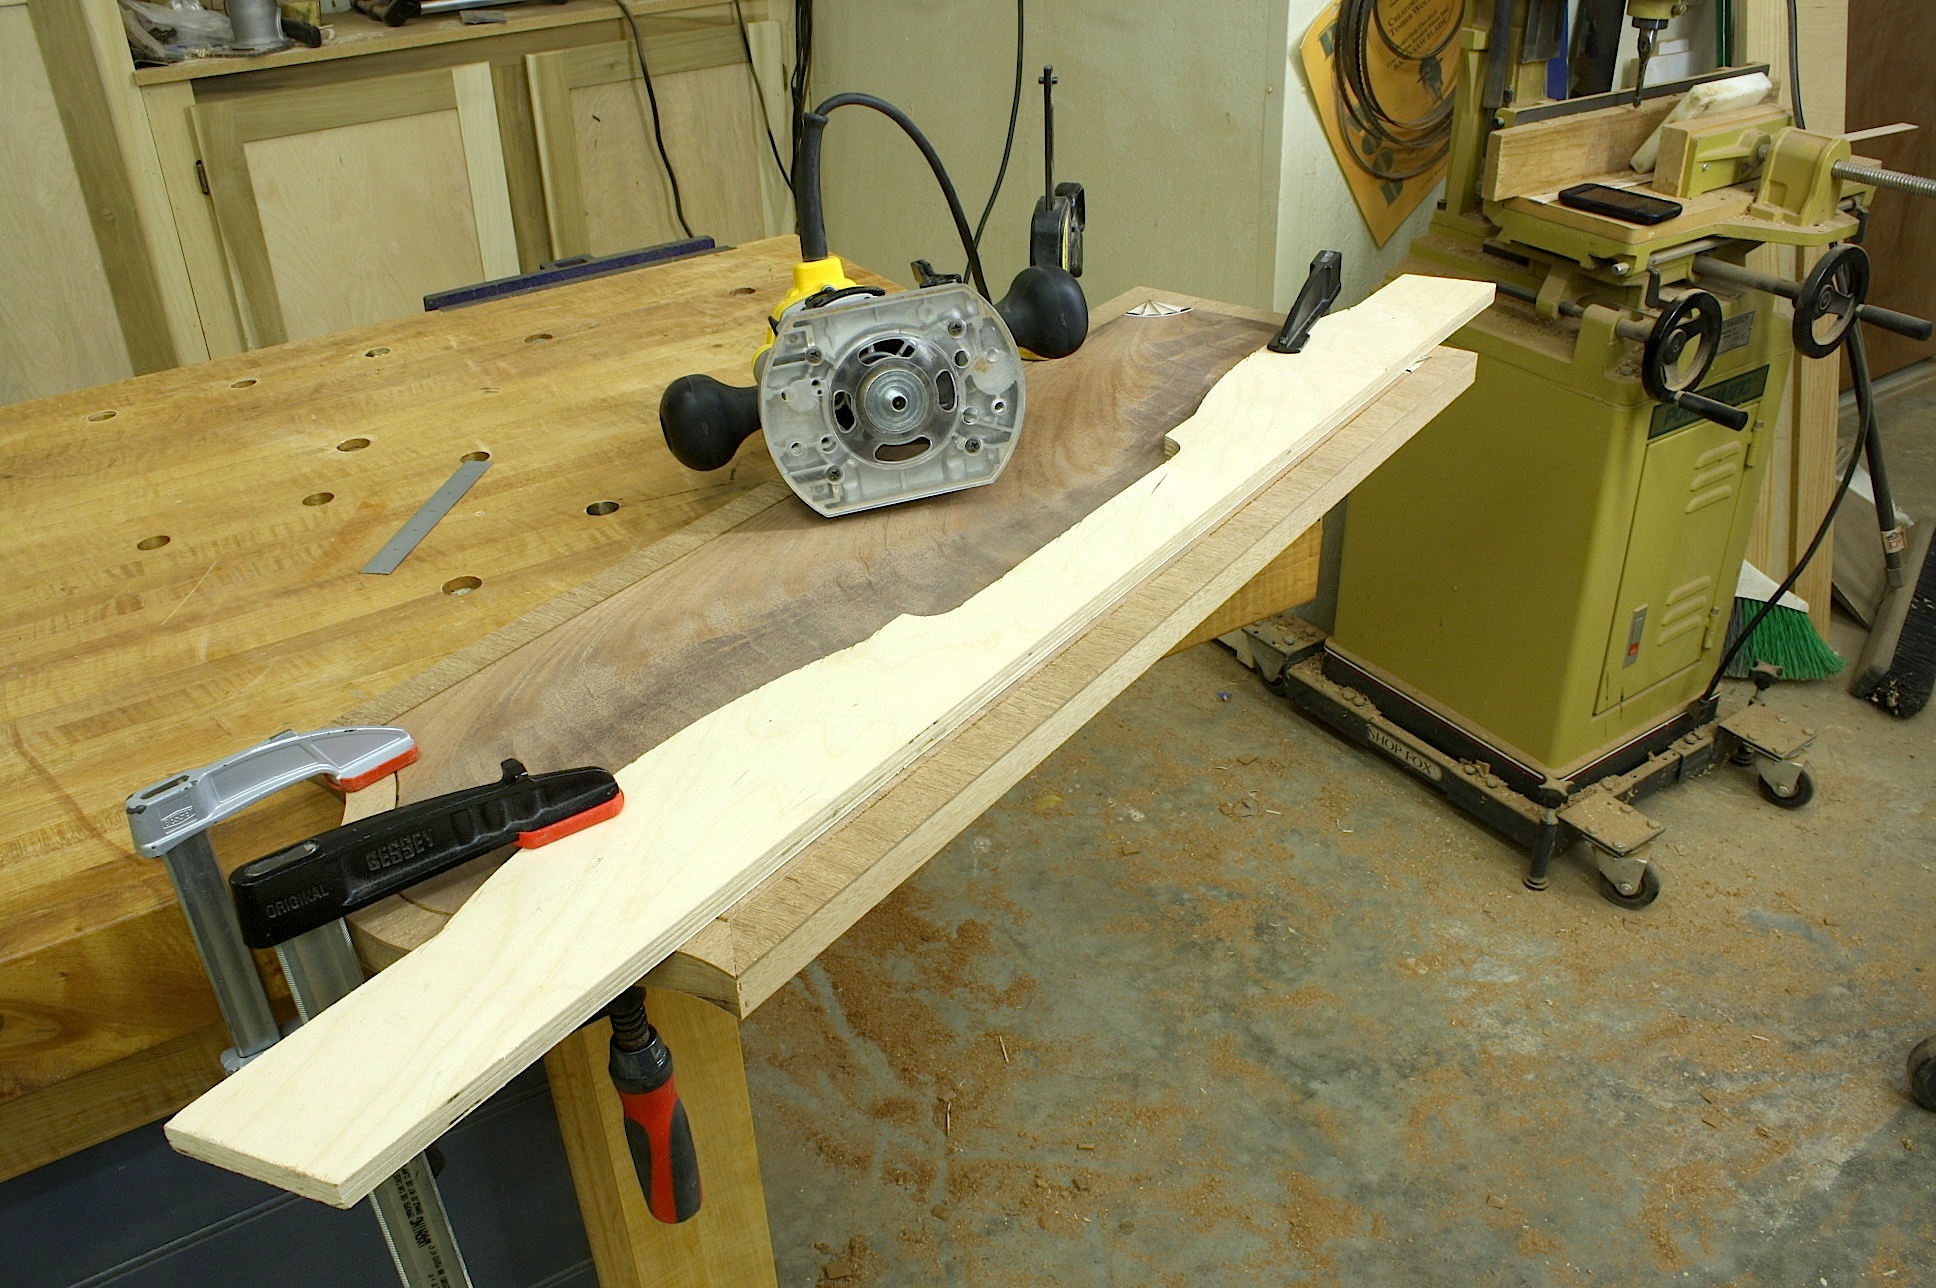
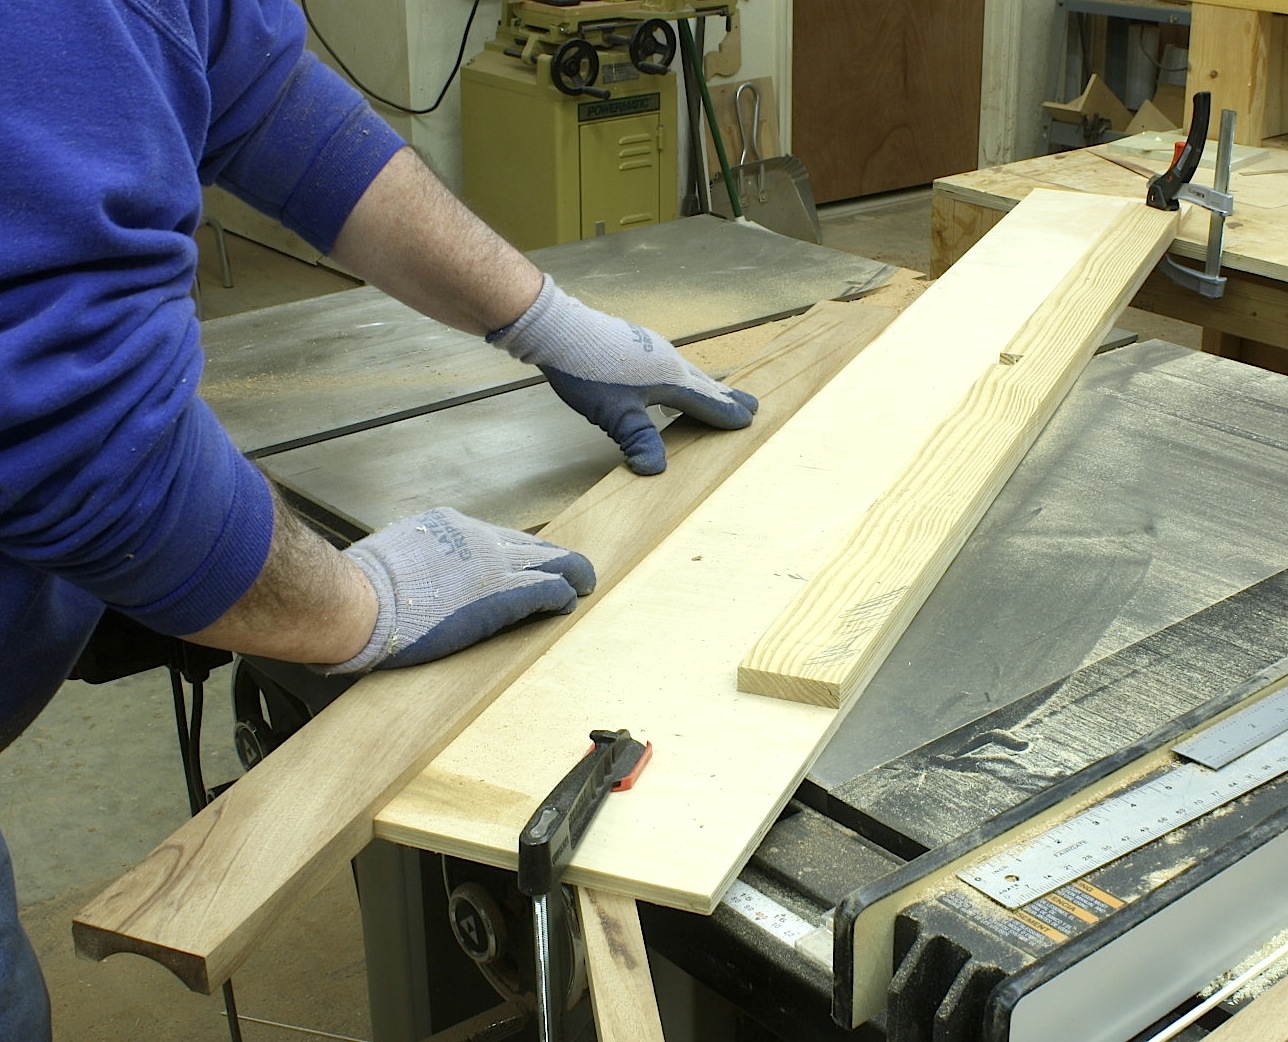
I make all but my smallest cove molding at my tablesaw. (The small pieces come off my router table.) As I set up to knock out a few pieces for my clock, I did what I have done from my earliest recollection of making cove. I placed, angled and clamped a fence to the right of my table saw blade. IMG_0691As I make passes with the blade just nipping my stock, I make sure that the stock stays tight to the fence – I have to push the stock into my fence. I like the idea that I’m in control and it is up to me to keep the stock in position as the cut is made.

I have seen other woodworkers set the fence to the left of the blade. The theory behind this setup is your blades pushes the stock toward you as it cuts. Therefore, you simply guide the material through the cut, not having to hold the stock to the fence.

I have tried this setup before. I was not comfortable at all. I’m not sure if my lack of comfort was because I do the operation so differently, or if I felt uncomfortable because I was reaching over the fence to guide my stock.

IMG_0693There is a third method out there. Sometimes two fences are positioned  on both sides of the blade. Please don’t tell me you do this. I’m sorry, but I don’t think a fence set to the left and to the right of the blade is a viable alternative. Why? If you set both fences tight to your stock and its width is not dead-on perfect, somewhere during your cut the stock becomes confined. That causes you to force the piece along and we all know what happens as you apply force around a spinning blade. If you tell me that you do not hold both fences tight to your stock, then I can only think that as you make your passes over the blade, the stock wiggles back and forth bouncing, if you will, from fence to fence. The resulting cut has to look atrocious. And sanding those pieces so they are ready to accept finish sucks up valuable shop time.

So which is it? Fence to the right or fence to the left?

Build Something Great!

Glen

Please do not write anything about my glove usage. There is nothing wrong with using gloves in the scenario. There is no blade expose any time during the cut!

6 Comments

Filed under Jigs, Shop Tips

Handscrews: More than Clamps

IMG_0661I gonna bet that many of you reading this post do not have any of these clamps in your arsenal. You should. Handscrew clamps do not do a lot in my shop, but when I do put them to use, they work. My primary use of handscrews is to hold parts upright as I work. What they do not do, unless I have an odd setup to clamp or need a great amount of force, is clamp parts together. The combination of threaded rods and pivoting barrel nuts allows for large amounts of torque and for these clamps to move into odd shapes to grip and clamp.

IMG_0662The problem today, is that the handscrews we have available in most stores and online are not the same as the old clamps my Dad purchased 30 years ago. And not all old handscrews are worthwhile either – I hate handscrews with wooden dowel rods. I think they’re junk. At the right is a photo of a relatively new handscrew I have in the shop. A close look shows a mixture of wood dust and cobwebs. I don’t use these often.

I don’t know why these are so different. It may be the arrangement and location of the barrel nuts, or it could be that over time parts wear to make actions smoother. Whatever it is, I suggest you grab any old handscrews when your find them. I scout antique malls and old farm auctions – if I run across any this day and age. I’m sure you can find them if you hang out with old tool collectors, but those guys know the value and I doubt you get a steal.

Below are two examples of how I use handscrews. In the top photo I position the clamps to hold the clock waist sides vertical as I attach a face frame. (Yes, in the photo my face frame is already attached.) The bottom photo shows how you can use handscrews to hold something from moving. Clamps grip the case and butt against the front edge of my bench to make it easy to cut grooves for stringing.

IMG_0659IMG_0660If you have handscrews in your clamp arsenal, leave a comment to let me know how you use them and how much you use them while woodworking.

Build Something Great!

Glen

8 Comments

Filed under Hand Tools, Shop Tips

Simple Fix for a Blown-out Banding

A_BasePhotoEdge banding  is a simple, low-cost addition to make doors and panels stand out, especially in pieces from the Federal period. Last week I showed how I added edge banding to my tall clock. As I trimmed banding flush to the panel and door, I flipped a corner area out which called for a repair. This week I’ll show a simple fix, then give you a couple ways to rout in string grooves to hide where the banding and veneer meet.

To trim banding flush, as you may expect, I use a router and flush-cut router bit with a bottom-mount bearing. I learned years ago that if you expect edge banding –  short pieces positioned so the grain runs perpendicular to edges – to keep from massive destruction, you better climb cut as you trim – you are trimming end grain.

IMG_0584As I worked on my tall clocks, I learned another valuable lesson; Cut straight in at your corners. I made a climb cut along the bottom edge of my door panel, and as I began the cut the bit flipped out part of the corner. If you push directly in at the corner – follow the mitered line formed at the corners – the pressure of the cut is such that your banding stays intact.

If you look at the photo above you may think that little bit of missing banding is not a big deal. In fact, there is a small piece gone from both mitered corner pieces. The left-hand missing piece is small enough to be hidden by a piece of stringing yet to come, but with the right-hand piece I was not so fortunate. Thus the repair.

IMG_0585I know I’m not providing any earth-shattering technique never seen before as I demonstrate this fix, but that is the point. Edge banding is easy to do, and edge banding repair is simple. (We are woodworkers, if it was difficult or hard we would not do it.) To fix this defect, draw a line with your pencil of marking knife then cut away a small piece of banding. If possible, undercut the edge as you work to make sure you get a tight fit with your patch.

IMG_0586Find a piece of leftover banding that has a similar grain match – this should be easy to do because all your banding pieces are cut from one or two pieces of scrap as shown in the previous post – then glue the patch in place. After the glue dries, trim the patch flush with your edge. Simple, huh?

Where your banding and veneer meet is where you plow the groove for stringing. I suggest a couple different setups depending on what tools you have available. If you have a guide fence to fit your router, install a 1/16″ straight bit in your router, position the bit so your groove splits the banding/veneer intersection then make your cut, as shown in the top photo below. If you do not have a fence that fits your router, then you need a guide bushing and a shop-made straight edge, as shown in the lower photo. For this operation, you need to calculate the measurement from the edge of your guide bushing to the center of your router bit, or how far from the intended groove you need to affix your straightedge in order to cut the groove at the banding/veneer intersection – off course, this depends of your bushing.

IMG_0590IMG_0589

This is easy-to-do woodworking with spectacular results. Give it a try. It works just as great on small boxes, too.

Build Something Great!
Glen


1 Comment

Filed under Inlay, Jigs, Routers, Shop Tips, Tall Clock

From Veneer To Edge Banding

IMG_0350(A few weeks ago, I posted about veneer and how I purchased 2-ply crotch mahogany for my Egerton tall clock. This week, I’ll pick up from there as I begin tinkering with the base panel and door. If you want to better see the end results, click on the left-hand photo to open the image.)

My next step in building the panels is edge banding. To straighten the veneer edges and to expose areas to which my edge banding is glued, I turn to one of my router jig workhorses. IMG_0520There is nothing easier to use than a simple straightedge jig and a pattern router bit to get a dead-straight edge; Yes, the edge is only as straight as your jig. My jig is a 6″-wide piece of plywood with a 4″-wide piece applied on top – this particular rendition has pine on the top, but any wood or plywood works. After I build the jig, it gets a pass over my jointer to achieve that straight edge. From there I’m ready to work.

I marked my panel at 7/8″ from the edge, IMG_0521positioned the jig at the marks then clamped it in place. The extra 2″ of width allows easy clamping and any clamps are out of the way of my router base. I set my depth of cut to 1/16″, then routed the edge. After working all four edges – the bottom edge being 1-1/4″ to allow a matching 7/8″ after a moulding is attached – I was ready for banding.

Shop-made edge banding is way easier to work than commercially available paper-thin veneers, IMG_0573it’s easy to make and it is from scrap. These are all pluses when woodworking. After cross-cutting 6″-wide pieces to 1″ in length, I set up my table saw to rip 1/16″-thin strips. Make sure you do this using a zero-clearance table saw insert and a push stick of some kind. I also like a super thin blade for this, so I bought a 7-1/4″ saw blade that is dedicated to light work at my saw. Enough pieces were cut to wrap the door and base panel, along with a few extra.

Edge banding is wrapped around the field, IMG_0575but I also needed a few pieces for the top edge of the door that were longer due to the curved edge. I only need a few pieces, so I repeated the same steps with another piece of scrap. Those top-edge pieces require a bit of shaping to meet the profile. That meant many trips between the door and my sanders, spindle and disc. Spring clamps are great at holding profiled pieces as you fit additional pieces along the edge.

After the top-edge pieces are fit and the corners are trimmed, IMG_0581it’s time to glue the edge banding to the door. I contemplated hide glue for this, but my glue pot was  not hot and any hide glue I had was outdated or moldy. Not going to use it. I did have yellow glue, but I also had a bottle of Titebond “No Run, No Drip” glue. A shorter set time was good, so I gave the glue a try. I was surprised at how easy this glue is to use and how quickly it sets. I am very happy with the results. If you need a shorter setup time when gluing, I would try this product.

IMG_0583

Remaining edges are covered with the pieces ripped at the saw. Straight runs are too easy. Smear glue along the edge, slip a piece in place then add clamps. The glue sets up fast enough that I easily transferred spring clamps along the way. If you do not have a large supply of spring clamps, use blue tape. It works, too.

(Next week I’ll repair a damaged edge-banding corner, share a trick for perfectly matched mitered corners and install stringing in the door.)

Build Something Great!

Glen

3 Comments

Filed under Design, Inlay, Jigs, Routers, Shop Tips, Tall Clock, Veneer