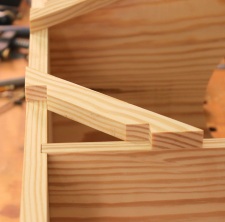
In a couple of articles I’ve written and in my DVD on a Massachusetts High Chest of Drawers, I’ve shown and described a technique used to attach drawer blades to the case using a socket that is made as you break away waste material. While working on a sample project the new 360woodworking.com website, I used that same technique – but this time, I installed corner braces on a Shaker Stool copied from a Hancock community original. (You can get the entire sample project off the 360 website when it goes live later this week – register at the site to get automatic notification when the site does go live.)
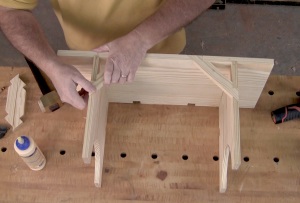
The technique begins by positioning the braces and transferring the profile to the top and end of the stool. The process is simple as long as you align the braces in the correct orientation. Then it’s a matter of tracing the edges of the braces using a sharp pencil (or marking knife, if you prefer).
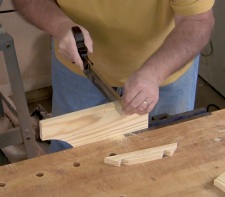
After the layout is extended down the two faces of each part, saw on the waste side of the lines to define the socket. Next, cut the waste area into small sections around an 1/8″ in width, working from end to end of the socket.  Because one end of the socket is angled and the other straight, it’s better to slightly angle your saw position as you cut – I begin on the square end of the socket, and twist my angle as I work toward the angled end, all the while maintaining the 1/8″-wide sections. Make sure to cut to the base line and not any farther. Staying short of the lines means you’ll have more paring to do to clean-up the bottom, but going beyond the lines could result in making new parts.
To break away the small sections, simply slide a chisel into the saw cut that defines one end of the socket.  That action alone should snap the sections right at the base line. I slip my chisel into the opposing end of the socket to make sure the sections are all loose. To complete the socket, pare the waste as you would a dovetail socket – be dead flat or a little sloped toward the middle of the board. With the waste removed, the braces fit in position and hold the stool square and strong.
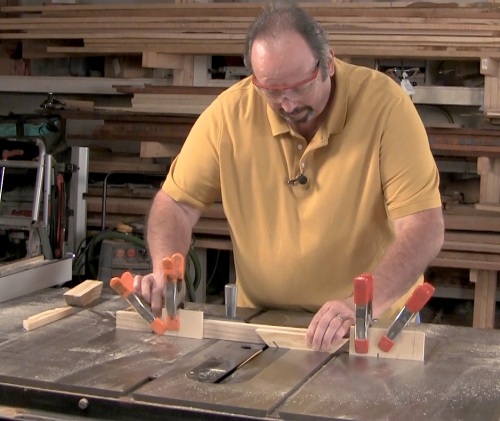
If you’re wondering how the braces were cut to shape at the beginning, that’s a nifty jig shown below. You can get the entire run down of the jig and how to set it up and use it when the 360WoodWorking site goes live. Sign up today.
Build Something Great!
Glen

