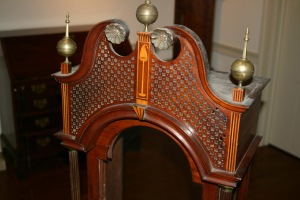
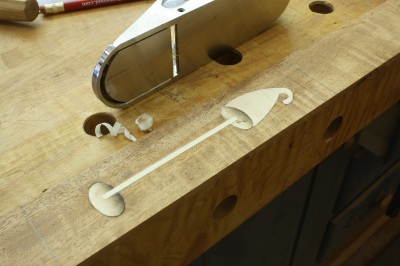
 There are times when I need to get into the shop just to have fun. That time generally rejuvenates me so I can get back to my projects with a renewed vigor. If that fun time also happens to be something I need for one of my projects, I consider that a bonus. This week was a bonus. I needed to make a piece of inlay for the tall clocks. In the photo you can see, on the original Egerton clock, the piece of inlay I needed to make, the Night Cap perched on the post. This post is more pictorial that text filled, but you know what is said about a photo.
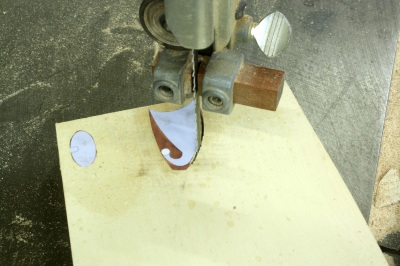
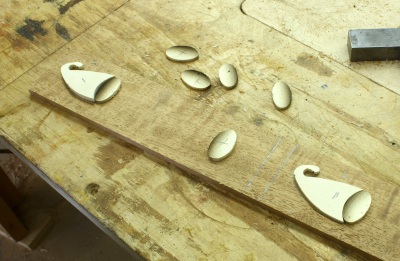
Step one was to develop a pattern for the inlay. I could have drawn the design free-hand, but it’s easier to pull the image into SketchUp and trace over the lines. After I had the plan, I spray-glued the images onto a piece of scrap holly and cut the pieces at my band saw.
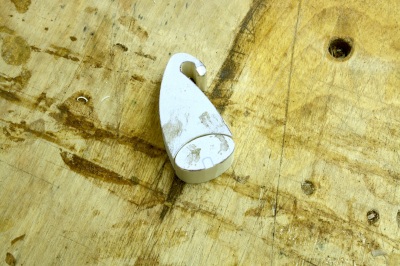
When I had the pieces cut out, I smoothed the edges as best I could using a disc sander and fine rasp before moving on. I also made sure the two pieces fit together nicely. I wasn’t worried about a super-tight fit because the separation would better show the delineation between the two pieces.
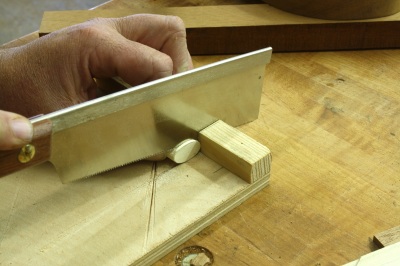
Using a bench hook, I sawed the pieces into thin, usable slices. I like my Japanese saw for this cut. It’s thinner kerf saves material, and the small, finer teeth make the task easier.
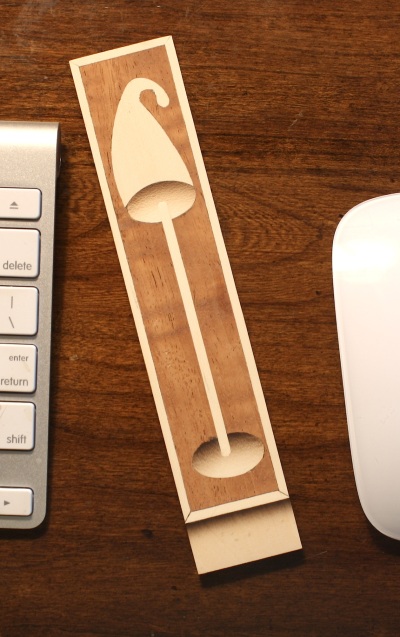
Sand-shading is great. There are few techniques as simple as this. And the results add a crap-load to the overall look of your work. The only pieces in this design that get shading are the small ovals.
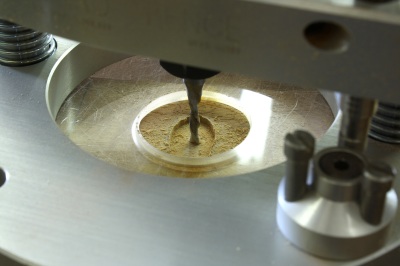
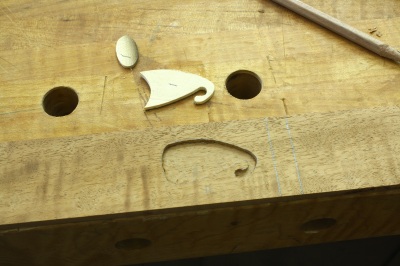
To inlay the pieces into my stock, I have to excavate the waste. This is really where a router becomes valuable. I positioned the pieces to my backer, then carefully traced around each piece with a sharp pencil. With a 1/16″ straight bit loaded into the tool, I set the depth of cut then hogged out as close to the lines as possible.
Afterward, I used a small carving gouge to tweak the inlay area to my layout lines. I tested the fit of my inlay to the excavated hole, then trimmed any needed spots. (I want a tight fit, but not so tight as to break my inlay.)
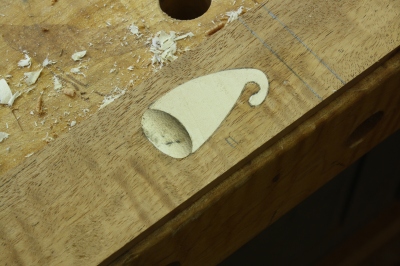
With the areas cut away and trimmed to an exacting fit, I added glue into the recess and hammered the inlay pieces into place.
The rod for the Night Cap holder couldn’t be easier. I used the same 1/16″-diameter bit, set the workpiece flush with the edge of my bench then used a guide fence on the router to cut the line. The rounded ends from the router bit worked great against the small ovals to complete the design. A piece of string was cut to fit, a small amount of glue was injected then I hammered into the recess.
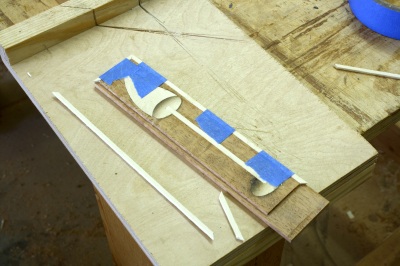
At my table saw, I set the fence and raised the blade to trim the edges for more string banding. The pieces were cut to size and I mitered the corners using the reflection in the back of my chisel to set the angle – too easy. Glue to hold and blue tape as a clamp, then let it dry.
With the glue dry, I sanded each face – I built two of the pieces – then cleaned up the edges with my block plane. Before I install these on the clock hood, I’ll thin the assembly somewhat. The two pieces are a bit different. So, are the results perfect? No way, I wouldn’t expect that. Was it fun to do? Hell yes. Every once in while you need to get into the shop to just have fun.
Build Something Great!
Glen

Using real communication like hell and crap are the highlights! Thanks for dumping PC talk for the real world. Love it. Pics and work shown are great, as usual.
Well done, great explanation as well!
COOL technique… process…
Was that a Pin-router you used?
Coming right along… beautifully…
Thank you.
Hey Joe,
I used a Bosch colt router in my Micro Fence base. Great tools on both counts. And you can see exactly where you’re cutting.
Thank you, Glen…
I have one of those! Nice lil router…
Bravo! Outstanding Post!
Pingback: Egerton Hood | Woodworker's Edge